Installing Exonar
Overview
The steps to install the Exonar Virtual Appliance are:
Download the OVA file
Make sure your hypervisor is running
Create a virtual machine from the OVA
Start the Exonar Virtual Appliance
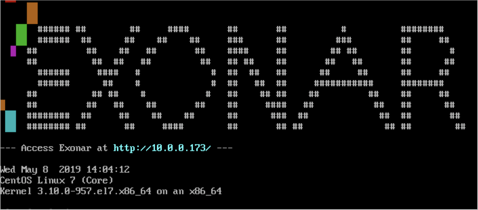
Make a note of the URL shown when the virtual appliance starts
Jump to Running Exonar
This guide gives step-by-step instructions for VirtualBox and VMware.
VirtualBox
To install on VirtualBox:
Download the OVA file
Make sure VirtualBox is running
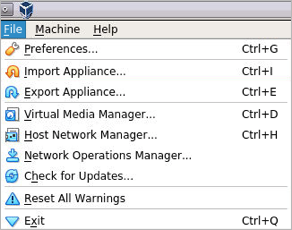
From the File menu, select Import Appliance
This step creates a virtual machine from the OVA.
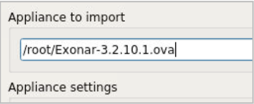
Choose Exonar-3.2.10.2.ova in the Appliance to import dropdown box and click Open
Click Import
Select the virtual machine and click Start
Make a note of the URL shown when the virtual appliance starts
In this example it is http://10.0.0.173/
VMware
To install on VMware:
Download the OVA file
Make sure VMware (for example, VMWare ESXi or VMWare Workstation) is running
Create a virtual machine from the OVA
For example, in VMWare Workstation select File ⇾ Open
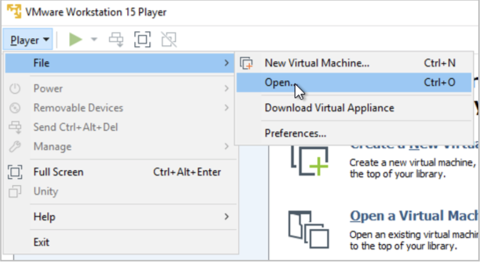
Choose Exonar-3.2.10.2.ova and click Import
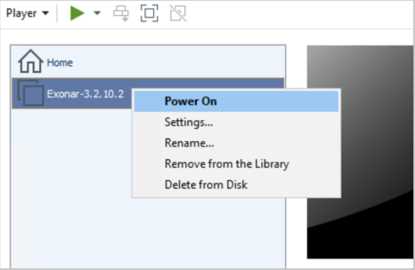
Right-click the virtual machine and select Power On
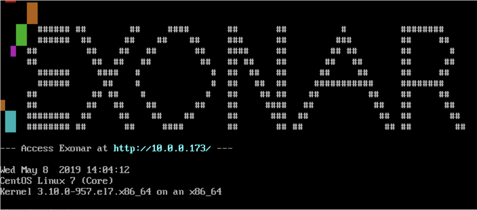
Make a note of the URL shown when the virtual appliance starts
In this example it is: http://10.0.0.173/
